In this guide you will discover how it is possible to create web apps on Hosting Node JS with a formidable service like Heroku. We will analyze in detail all the necessary steps.
di Antonio Lamorgese
If you are reading this guide it is surely because you are attracted to information technology and programming. Consequently, if you follow what I write, you will have already read in some of my other posts, that I do not like to neglect the cardinal principles of a subject to intuition or personal opinions. So, even if I risk being a little boring and obvious, I will try to resume the argument on Node JS by immediately defining a very important aspect, which concerns the development of web applications, that is, the meaning of the term “deploy” that I will analyze in detail explaining how it is possible to develop and create web apps on Hosting Node JS with a formidable service like Heroku.
1. What’s Node JS
In recent years, Node JS has proven to be the most suitable language for developing web applications, and this for good reason. Node JS will allow you to execute server-side Javascript, which is no small feat. After using it for a while, you will also understand why. Not only is it constantly updated and in line with the latest JavaScript updates and advancements, but its asynchronous code execution system allows it to quickly process large amounts of information without the use of threads that usually make the code more complex. to manage. Some have already created applications with Node JS and if you have, you have surely asked yourself this question: “What should I do to distribute my Node JS application”? Don’t worry, it’s not a trivial question. If you google it, you will quickly realize that there are many different opinions and approaches to this, but each seems to be more complicated than the other. There is only one answer to this question: “Heroku”. But now let’s try to understand what Heroku is and how it can help you distribute and develop web apps with Node JS.
Read more: Javascript Local Storage: The browser as a datastore
2. What’s Heroku
If you love Node JS and are looking for an easy-to-use, flexible and limitless hosting platform to develop an application, you definitely need to know Heroku. Heroku is a PaaS (Platform as a Service) that allows you to develop and focus only on the important aspects of development. In short, it will allow you to focus only on creating the application itself instead of spending time worrying about the server configuration or problems related to scalability and so on. But let’s see how Heroku can help you in developing an application with Node JS.
3. Developing with Node JS and Heroku
Node JS and Heroku is the winning combination for your website if you want to free yourself from further worries by letting this fantastic service take care of the servers and their configuration. A complicated and time-consuming operation for those who are not too familiar with the subject or are novice with this type of development. But let’s see now how to develop your first web application with Node JS and Heroku.
3.1 Install Node JS
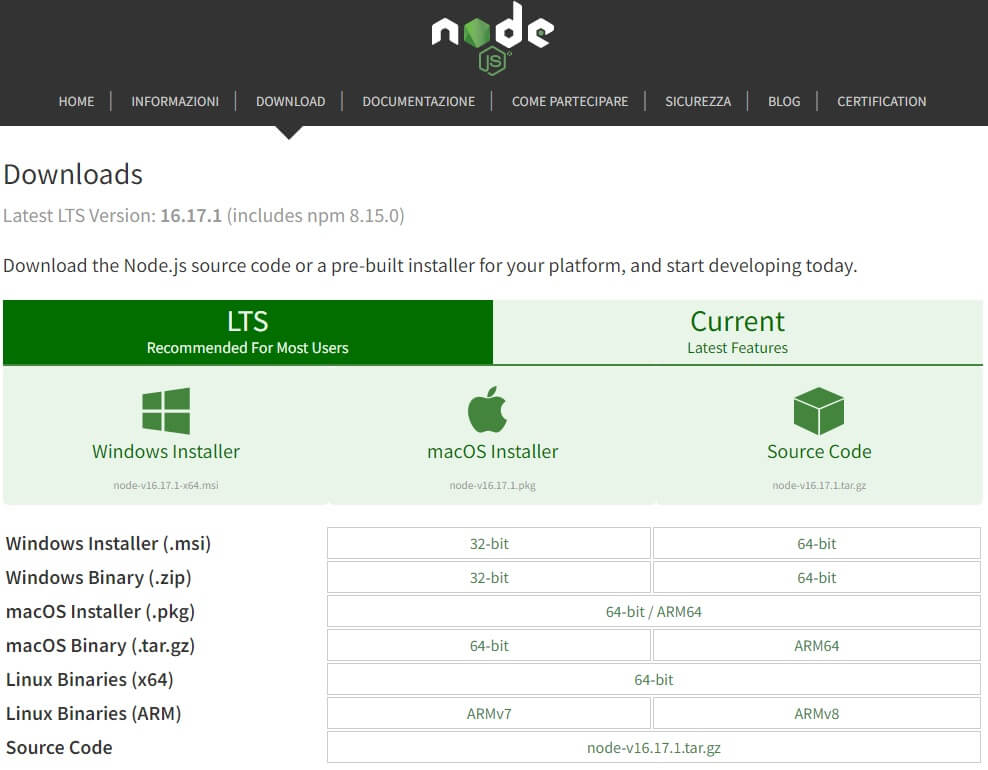
Well, the basic requirement, before proceeding with creating an application, is to install Node JS. The thing is simpler than expected. Just go to its homepage, download and run the installation package for your operating system.
It is good practice, after the installation of each software, to verify its correct execution. Therefore, open the command prompt and type this statement: “node -v“. If the system displays the Node JS version installed, it means that everything went well.

3.2 Install Visual Studio Code
Another fundamental requirement is the installation of an advanced text editor for development. The only noteworthy is Visual Studio Code. I have already told you about it in my other guide on this subject.
Read more: 5 alternative open source to Visual Studio Code di Microsoft
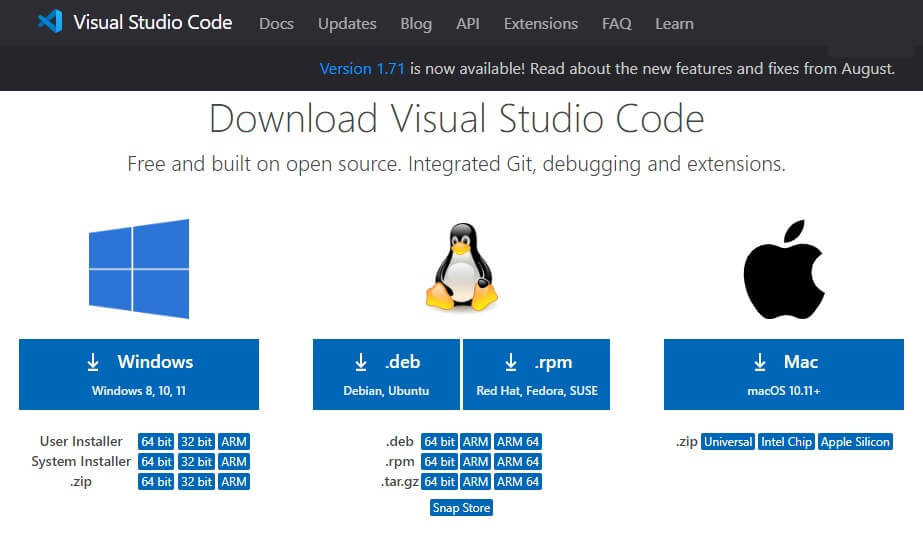
However, installing Visual Studio Code is as simple as installing Node JS. Here too, you just have to reach its homepage by clicking on this link, and download and run the installation package for your operating system.
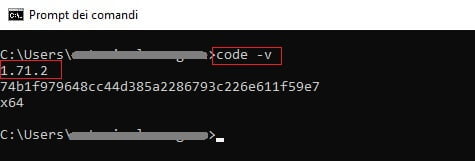
Again, it is a good idea to check that Visual Studio Code is installed correctly. Therefore, open the command prompt and type this statement: “code -v“. If the system displays the version of Visual Studio Code installed, it means that everything went well.
3.3 Create your Node JS application
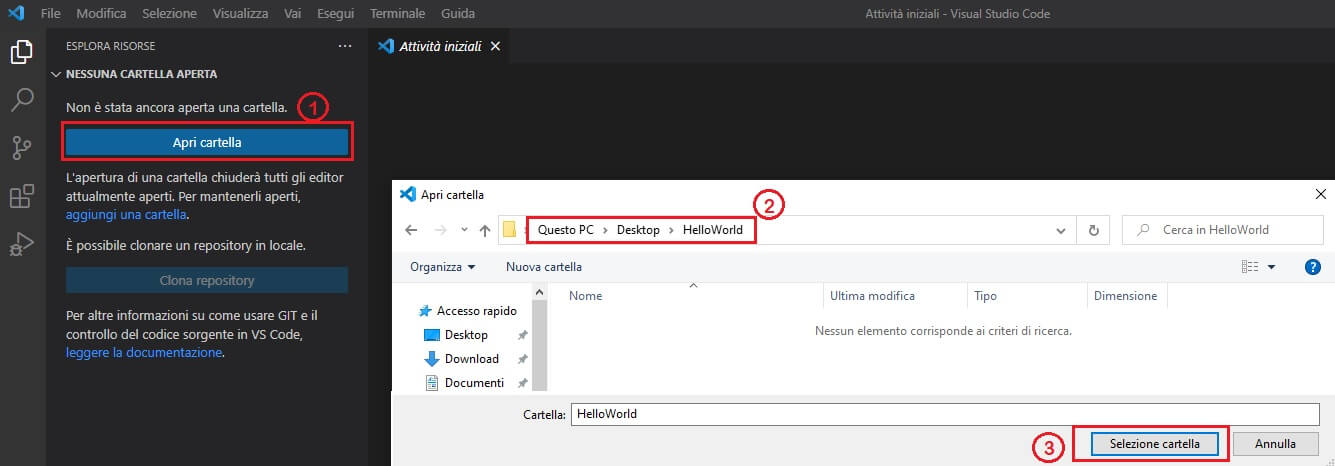
Ok, we’re ready. Now, create a folder on your desktop and, for simplicity, we’ll call it “HelloWorld. Now open Visual Studio Code by clicking on the icon on the desktop, click on the “Open folder” button and select “HelloWorld“.
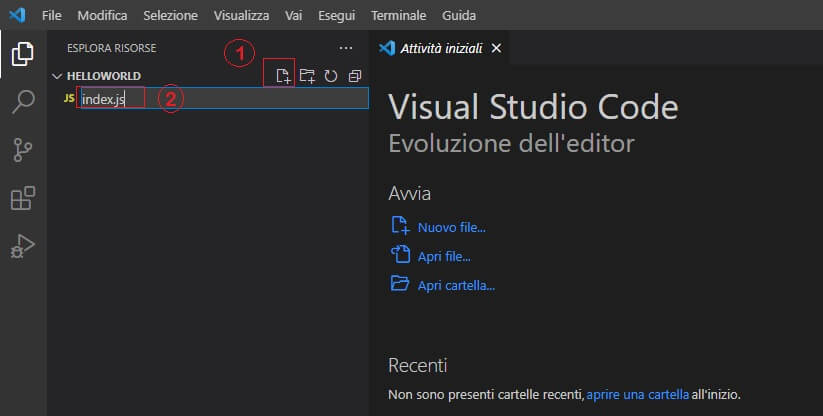
Well, at this point you just have to create the index.js file in which we will type the necessary instructions to view the classic “Hello World…!”. Then, expand the “HelloWorld” folder, present in Visual Studio Code, by clicking on the down arrow next to the name of the folder itself. Then, click on the icon with the ‘+‘ symbol, type ‘index.js‘ and press the ENTER key.
Now, copy and paste the following code into the index.js file:
var http = require('http');
http.createServer(function (req, res) {
   res.write('Hello World!');
   res.end();
}).listen(3000, function(){
   console.log("server start at port 3000");
});
3.4 Run your Node JS application
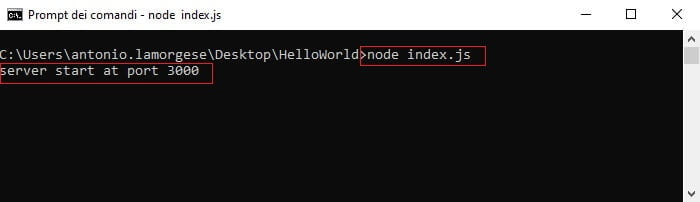
Well, after so much hard work, I think you want to see your Node JS code at work? I really think so. Then, reopen the command prompt, move to the HelloWorld folder on the desktop, and type the command “node index.js” followed by the ENTER key.
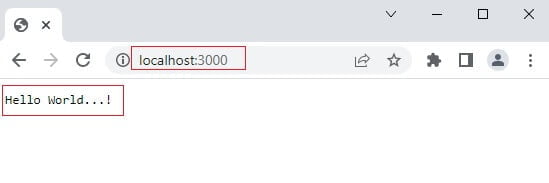
At this point your web server, created with Node JS, is ready and responds on port 3000. All you have to do is open your favorite web browser and point to the address: http://localhost:3000, and the greeting “Hello World …!” will be displayed in the active browser window.
4. Deploying a Node JS web app with Heroku
The term “deployment” has already been defined several times in web application development contexts, but always, with a limited meaning. In an abbreviated and less technical sense, we generally mean the transfer of one or more files from the developer’s server (the machine where development usually takes place) to a production server (the machine that will host the website once finished).
One of the difficulties faced by beginners in web programming is the choice of the server environment, which can be quite complex, because it depends on a series of technical and functional aspects that will characterize the software. This problem is not new, but it is important to know that there are free, very efficient solutions that will help you distribute your application online.
Heroku, in fact, is an excellent platform for deployment, if you want to register for the first time and you don’t know how to do it, in this guide I will explain all the steps to create and deploy your Node JS application with this extraordinary service.
4.1 Register and log in Heroku Platform
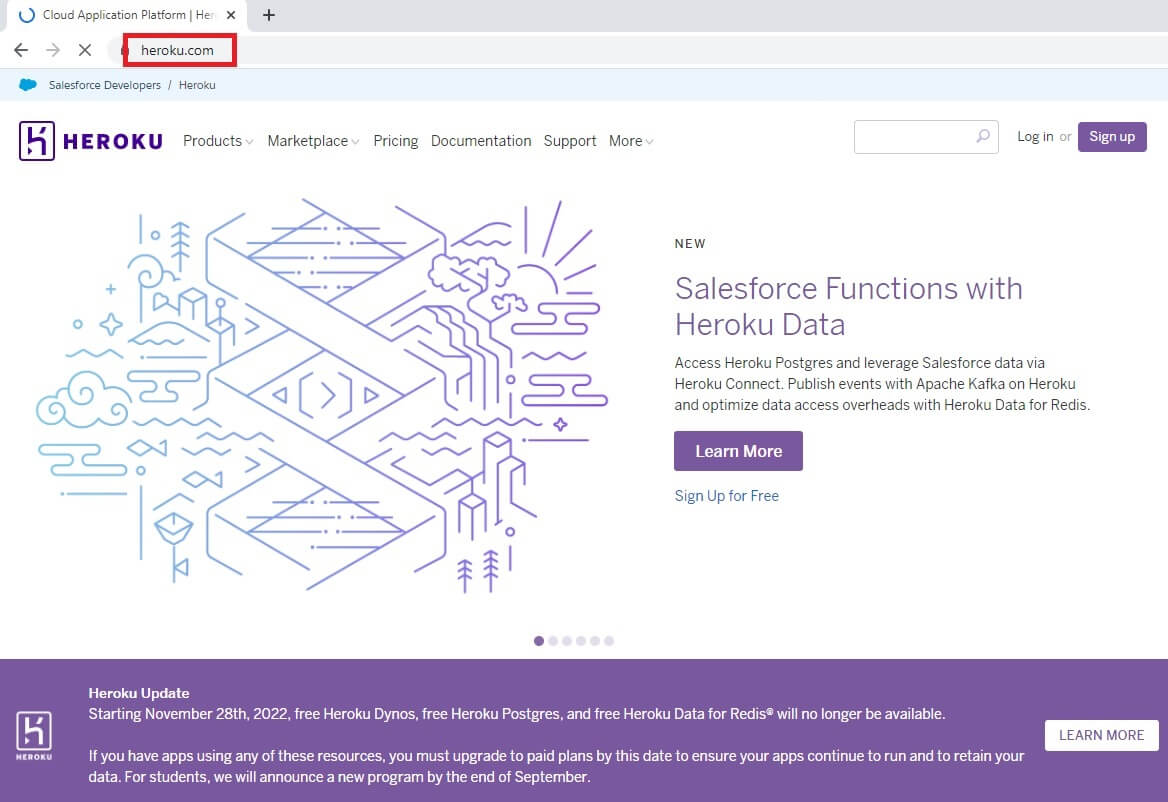
The first necessary step is to register on Heroku. The procedure is similar to many other websites that require user authentication before granting access to the services offered. Then, Click on this link. The page you will see corresponds to the Heroku portal homepage. From this position you will have access to all the services that the portal makes available to you. But first you need to authenticate, to do this, you need to register as a new user.
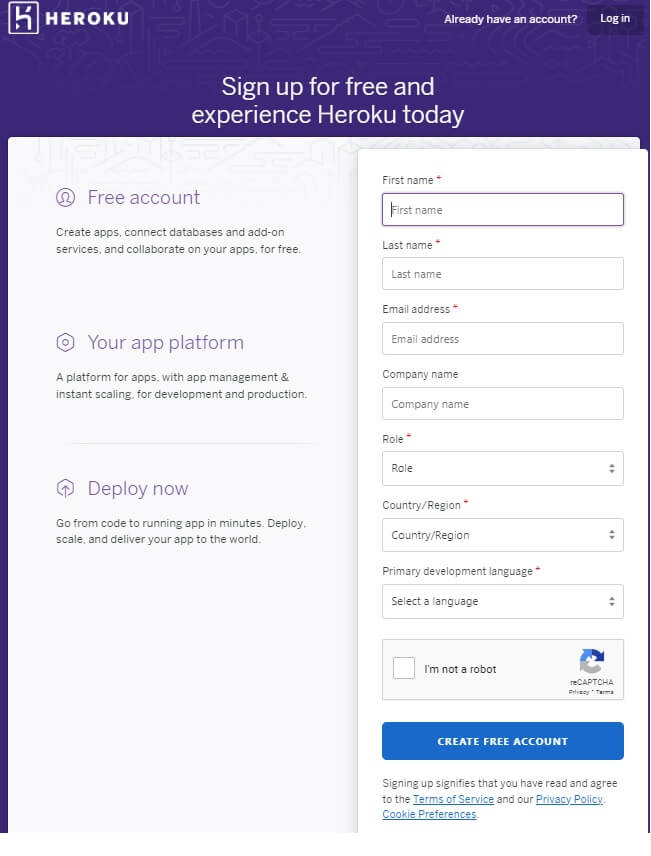
If you are already registered click on the “Log in” link otherwise click on the “Sign in” button and proceed with the registration as a new user. The mask you will see must be completed in all its parts. Once you have completed the registration form, you can click on the “Create Free Account” button. Immediately after you will receive a confirmation email with which you will activate your free Heroku account.
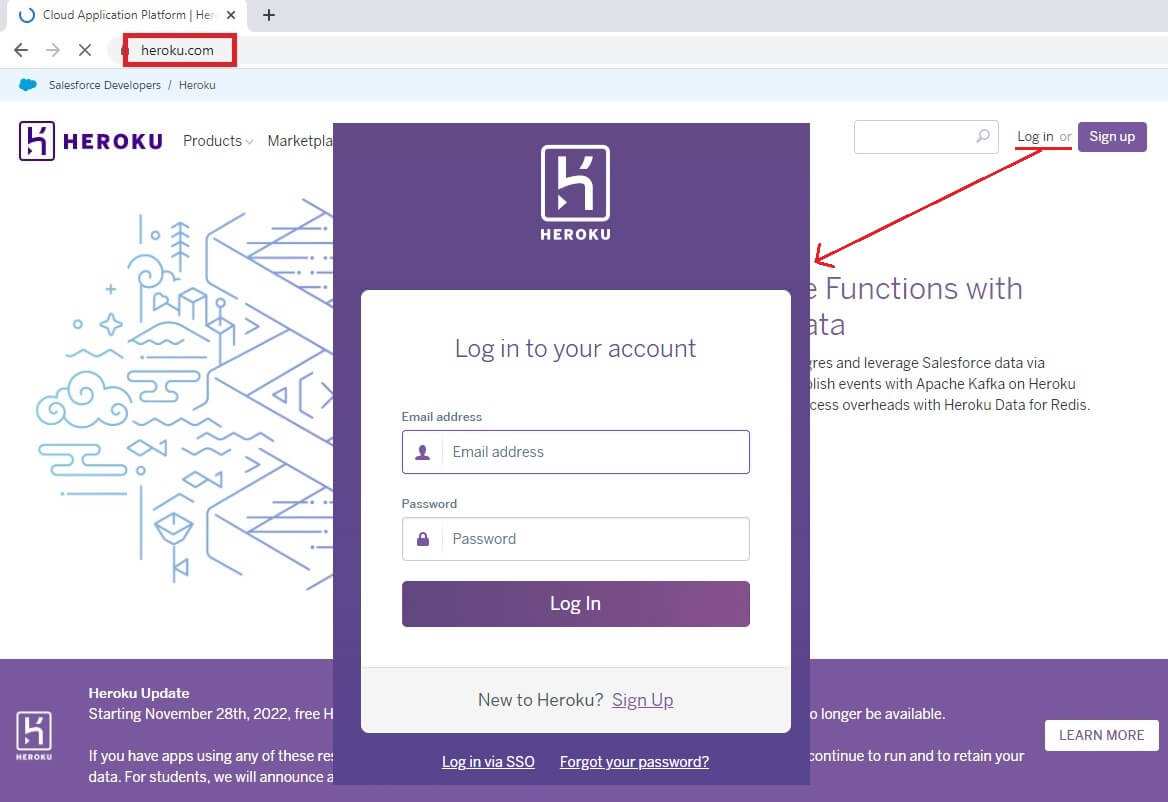
After the registration phase, you can click on the “Log in” button to access the platform. Enter the “email” and “password” indicated during registration and click on the “Log in” button.
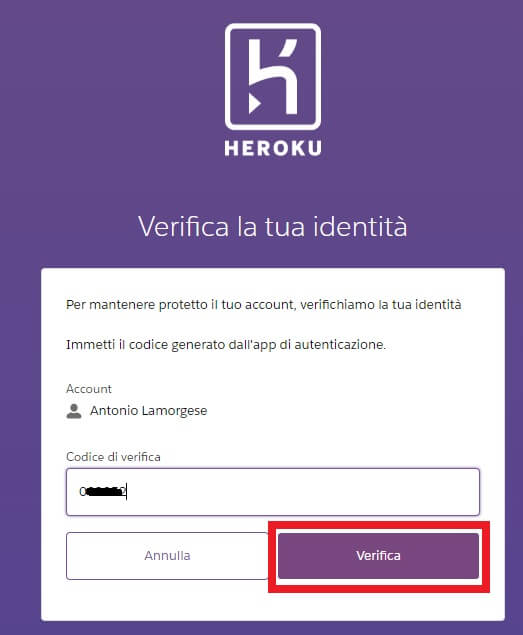
It is easy for Heroku to ask you to confirm access by entering the OTP code, configured, for example through the “Free OTP” or “Google Authenticator” app (your choice), when registering on the portal. After entering the verification code, click on the “Verify” button.
At this point you are authenticated in Heroku and will be able to freely access all the services offered by the portal.
4.2 Create app with Heroku
Reopen Visual Studio Code with the index.js file open and ready for changes in the editor. From the Visual Studio Code terminal window type the command: “npm init” and press ENTER at each request. At the end of the execution phase of the command you will find the “package.json” file in the same folder as the index.js file.
Now, open the package.json file and edit it by inserting the lines of code shown below:
{
  "name": "heroku",
  "version": "1.0.0",
  "description": "",
  "main": "index.js",
  "start": "node index.js",
  "scripts": {
    "test": "echo \"Error: no test specified\" && exit 1",
    "start": "node index.js"
  },
  "author": "",
  "license": "ISC"
}
Now, go back to the Heroku homepage and click on the “Create new app” button. Specify the name of the app, written all in lowercase, choose your membership status and click on the “Create app” button.
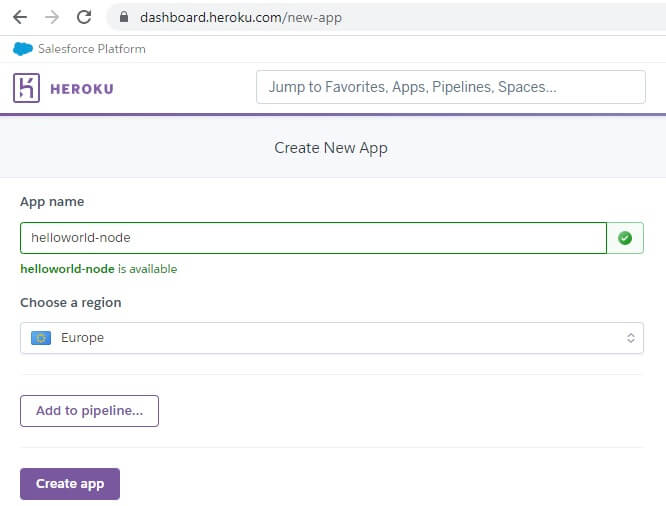
Consider that you can also change the name of the app you will create with Heroku, but it must be a unique name within its container for a specific region or state. Therefore, after typing the name of the app, Heroku, it will give you the positive or negative result about the possibility of creating an app with that name and will return the message: “helloworld-node is available” (see figure).
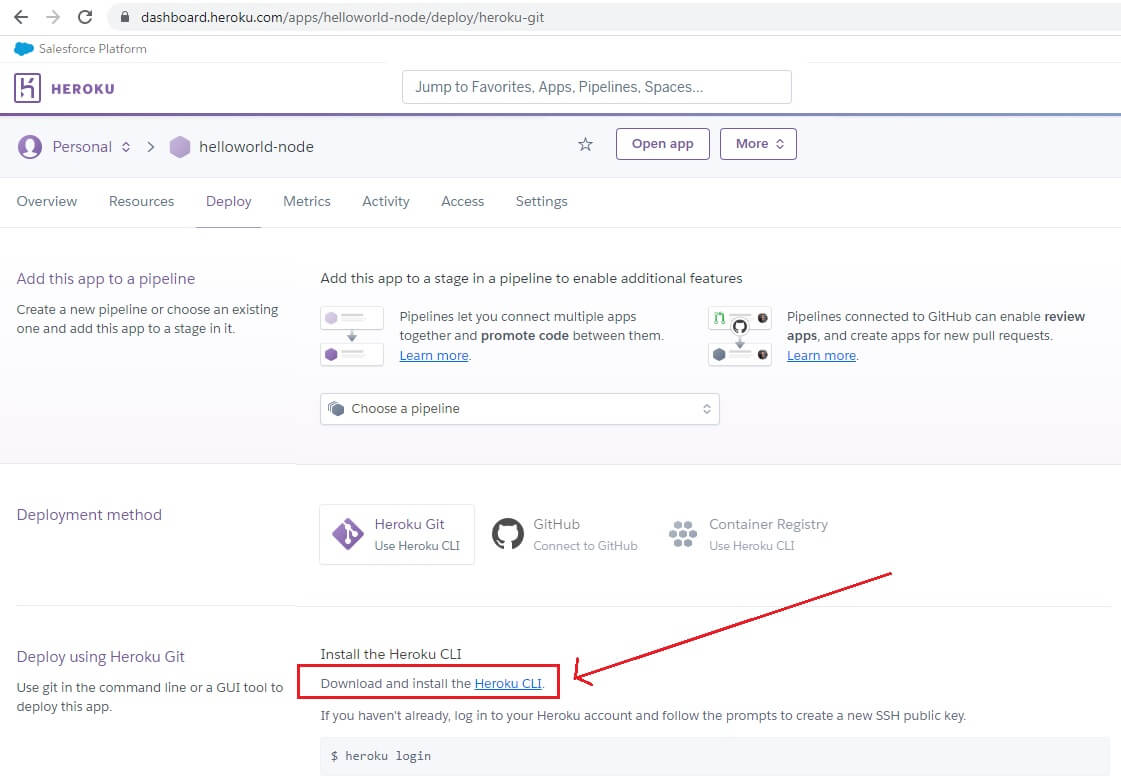
4.3 Download and install Heroku CLI
At this point it is necessary to download Heroku CLI, the Heroku command console from the terminal. After clicking on the “Download and install Heroku CLI” link, you can download the one that best suits your operating system, once the download is complete you can install it.
4.4 Deploy your app on Heroku
Once the Heroku CLI installation is complete, go back to Visual Studio Code and in the terminal window type this command: “heroku login” followed by pressing the ENTER key. The heroku login command will ask you if you want to log in via the browser, if this is your choice, you will click the ENTER key again and the browser will open to the Heroku login page. Now all you have to do is click on the “Login” button on the Heroku login page in your browser, without having to re-enter your username and password.
Heroku uses GIT as a code versioning system. And it is through GIT that the web application is transferred to Heroku. Logically, before continuing, you need to install GIT. To do this, just click on this link and download the version suitable for your operating system. After installing GIT, and still from the Visual Studio Code terminal, type these commands:
git init
heroku git:remote -a helloworld-node
git add .
git commit -am "here your message at each commit…”
git push heroku master
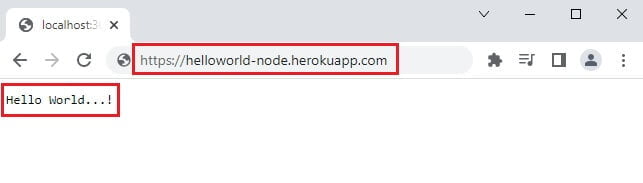
After the execution of these commands and above all the command “git push heroku master” your app will be available on Heroku and can be started freely by clicking on the link provided by the command itself in the terminal window of Visual Studio Code. The link will have, for this app, this aspect: “https://helloworld-node.herokuapp.com”. Now, copy and paste this URL into your browser address box and you will magically see your “helloworld-node” app come to life.
It is important to point out that, with every modification of the source code and after every git commit –am “your message…” command, the “git push heroku master” command must always be repeated. This is necessary to immediately reflect the changes made to the local source code with that present on Heroku.
5. Conclusions
I hope I have been useful and comprehensive. I have tried to explain to you, in the simplest way possible, the system used by software professionals. Professional software development is an art that must be applied according to precise rules using advanced tools such as Heroku. I recommend that you review the steps covered in this guide several times to better focus them and learn the technique that professional developers practice every day.
Read more: How to become a Full Stack Developer with Node Js and Express Js