


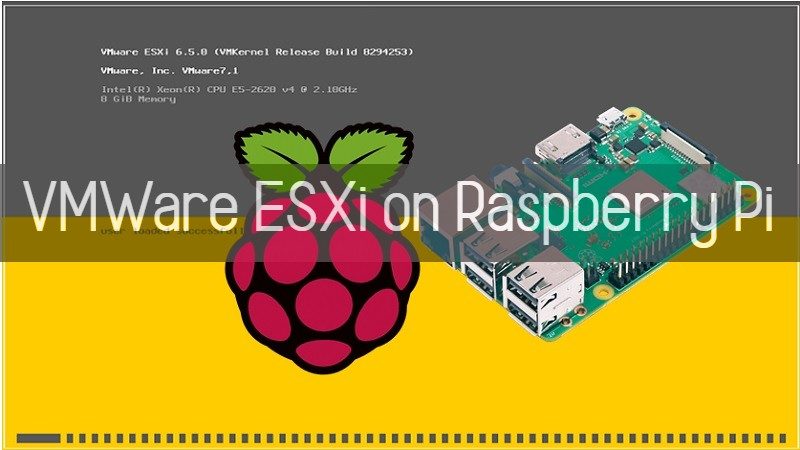
VMware announced the availability of the ESXi hypervisor on a wide range of ARM devices, including Raspberry Pi. Many home automation enthusiasts are curious to implement this procedure and see how virtualization could work on a device with ARM architecture.
di Antonio Lamorgese
Who would have thought, installing ESXi on Raspberry Pi, in fact during VMworld 2020, VMware, a leading company in the development of virtualization systems, announced the availability of the ESXi hypervisor on a wide range of ARM devices, including Raspberry Pi .
Many enthusiasts, having heard the news, are curious to implement this procedure and see how virtualization could work on a device with ARM architecture.
Aspects to consider

Getting ESXi Edition running on a Raspberry Pi is relatively easy, but there are a few things to consider.
– ESXi 7 requires UEFI boot and therefore some configuration changes are required. This includes booting from an SD card from the UEFI management screen and configuring booting from a USB device. The result is that the micro-SD card slot is unusable for the operating system.
– Installation starts from a USB device for installation on another USB device. I used, in addition to the MicroSD, also a memory stick, with the OS running on a 4GB device. VMware recommends using an externally powered USB drive or simple memory sticks as the Pi overheats with ESXi (we recommend mounting the CPU heatsink and cooling fan).
– The datastore can be connected, also, via iSCSI or NFS, however, the excessive current absorption of a SSD USB3 could block the Raspberry Pi.

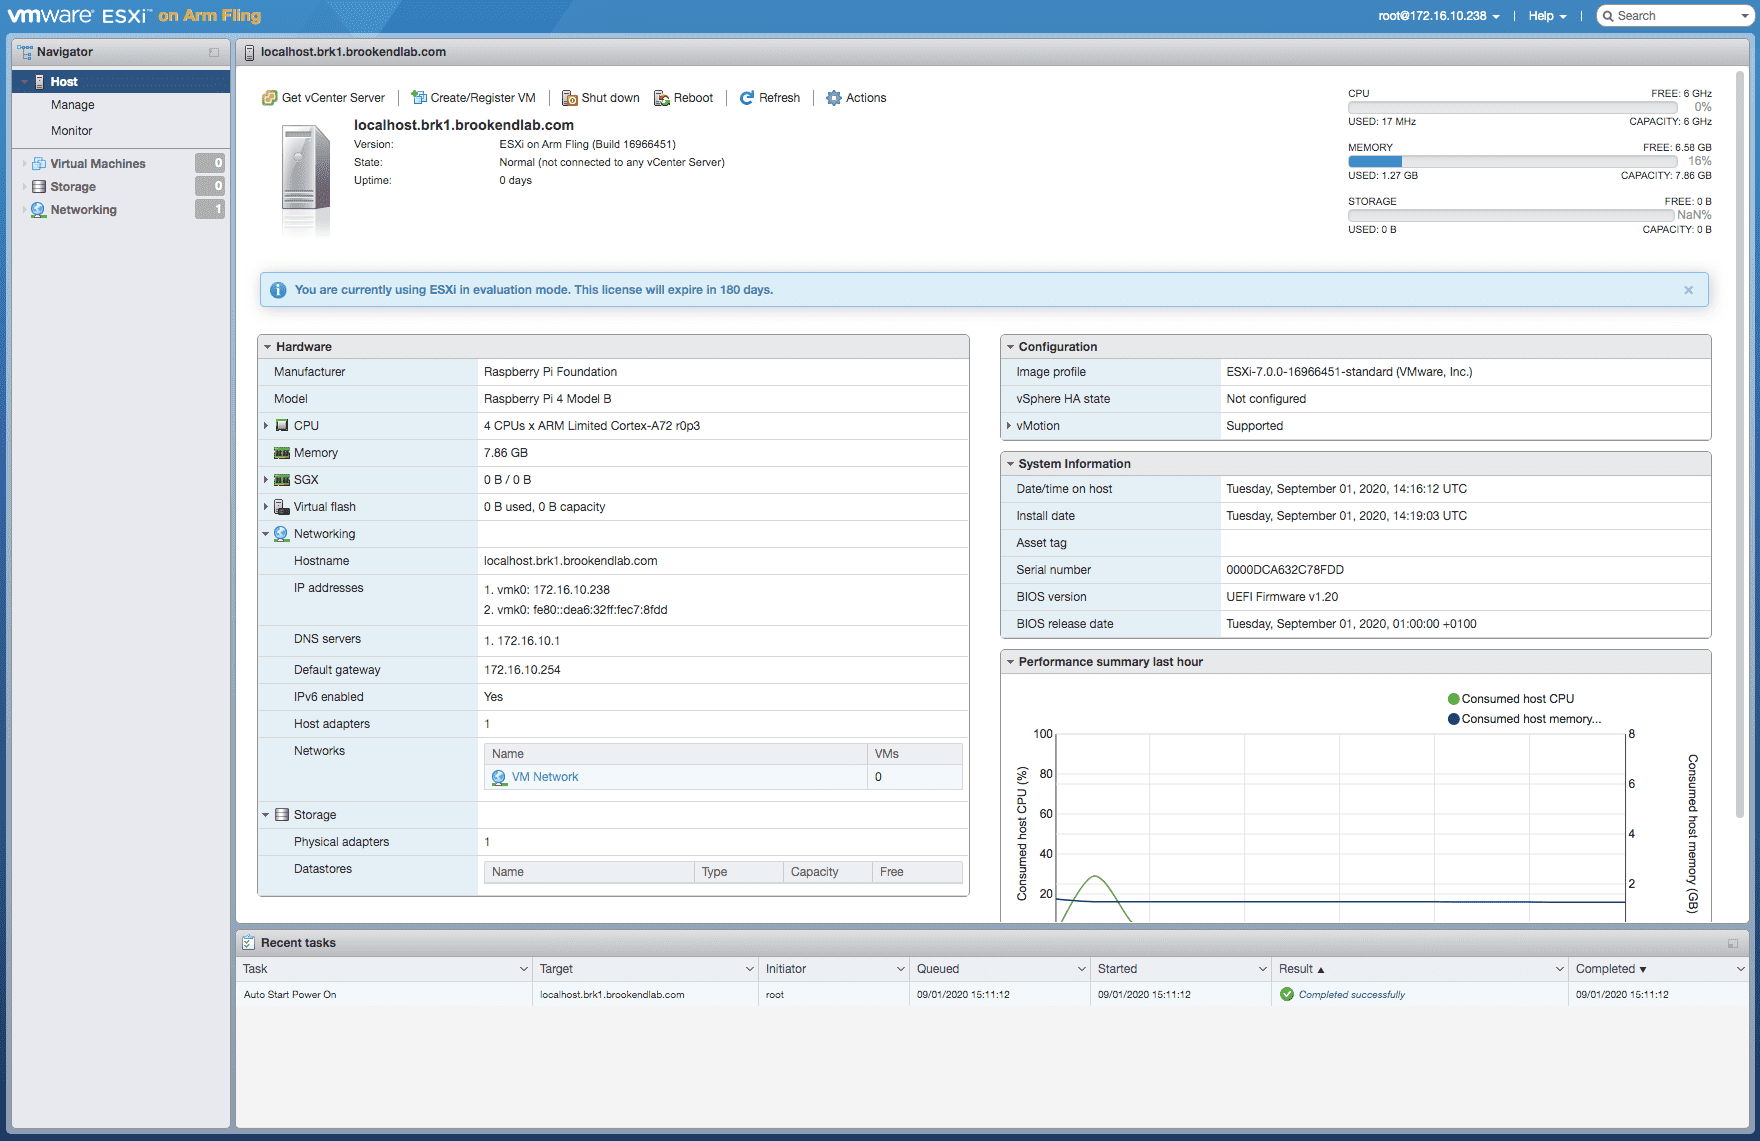
Aside from the problems mentioned above, the installation is a fairly faithful reproduction of ESXi on a conventional server. However, the ESXi itself uses around 1.3GB of RAM, leaving only around 6.5GB usable. The Raspberry Pi, under these conditions, could support up to 4-5 small VMs, in order to contain the overhead for each single VM.
Step 1: Update the Raspberry Pi
As a first step, download the Raspberry Pi Imager, the official tool used for installing images on SD cards, from this link, insert the microSD, at least 16GB, in a support or memorystick for reading, in the dedicated port of the pc.
Now run Raspberry Pi Imager, choose an operating system, I recommend the 32-bit Raspbian Pi OS Lite, clicking on the “CHOOSE OS” item and then on “Raspbian Pi Os (Other)”.
Click on the “CHOOSE SD CARD” button, choose “Mass Storage device”, and click on the “WRITE” button. Wait a few minutes, maybe in the meantime you can take the opportunity to take a break, and when you have finished writing the operating system on the MicroSD, extract it from the writing medium and insert it into the appropriate port provided on the Raspberry.
Connect a keyboard and mouse to the device, power up the Raspberry Pi, and wait for Raspbian to load. Log in by specifying the username “pi” and the password “raspberry”, the default password for the “pi” user, and access the command line features.
run the following terminal commands:
sudo rpi-eeprom-update
sudo rpi-eeprom-update –a
sudo reboot
Step 2: Prepare the MicroSD for VMWare
Once the Raspberry Pi has been updated, remove the MicroSD from the Raspberry and reinsert it again in the MemoryStick and then in the USB of the PC.
Riapri Raspberry Pi Imager, clicca nuovamente sul pulsante “CHOOSE OS” e seleziona la voce “ERASE”, seleziona la MicroSD cliccando su “CHOOSE SD CARD” e successivamente clicca su “WRITE”.
Download, from this link, the latest firmware version for the Raspberry and, from this other link, the updated UEFI firmware.
Now, insert your USB stick into the PC, we will copy files to this device that we will need later.
Then, extract the contents of the firmware-master.zip file, on the desktop of your PC, copy and paste all the contents of the “boot” folder on the USB stick.
Delete the 4 files starting with this name Kernel * .img, present on the USB key and copied as in the previous point.
Extract the contents of the UEFI RPI4_UEFI_Firmware_v1.20.zip file, still on the desktop of your PC, copy and replace the contents of this file on the USB stick.
Edit the file, Config.txt, present on the USB key, by entering this line of code: gpu_mem=16
Step 3: Create the VMWare installer
Download the ARM version of ESXi from this link, checking the entry of acceptance of the terms of the VMWare license and click on the download button. Keep the file on your PC desktop.
Now you will need software that will allow you to create a bootable MicroSD on Raspberry Pi boot. This operation will be carried out by the pc in your possession, so if your computer installs a Windows operating system, download the RUFUS software from this link, while for all other operating systems, Linux and MAC, download the ETCHER software from this link.
With both of these software, all you have to do is insert the MicroSD into the PC through its dedicated support, select the MicroSD as a writing device, the ESXi ISO, specify GPT as a partition and click START.
Step 4: Install VMWare ESXi on your Raspberry Pi
Insert in the Raspberry the MicroSD and the support USB key with the updated firmware and UEFI driver files.
Restart the Raspberry, at this stage press the ESC key repeatedly to enter the device configuration, and under device manager-> Raspberry Pi configuration-> Advanced configuration, disable the 3 GB RAM limit.
Save the changes made by clicking on F10 and then on the Y key, at this point restart the Raspberry Pi.
Re-enter the BIOS of the Raspberry Pi and go to the Boot Manager section, go to the item that indicates your MicroSD and press the SHIFT + O keys. When the Linux terminal window opens, type this command:
runweasel cdromBoot autoPartitionOSDataSize=8192
Restart the Raspberry Pi and, with the MicroSD and USB key inserted, the ESXi initialization phase will start. When you are in the storage selection section, you will indicate the USB key as local storage. Press ENTER and continue the installation of ESXi by pressing on F11.
Read more: How to Install Windows 10 on Raspberry Pi 4 e Pi 3
At the end of the installation we will be asked to remove the media inserted in the Raspberry, at this point you will remove the MicroSD, and you will leave only the USB key inserted.
When the Raspberry restarts, press the ESC key, to enter the boot maintenance manager section again, click on change boot order and select the USB key as the new boot device. Save the configuration and restart the Raspberry Pi.
Step 5: Create your first VM
When the Raspberry restarts, take note of the IP address highlighted on the ESXi start screen. Open your PC browser, and navigate to the ESXi IP address.
Enter the username root and the password specified during the ESXi installation phase and click on the Login button.
On the left frame click on Virtual Machines, and create your first virtual machine. For example, you could go to the ubuntu portal, and download Ubuntu server for ARM, downloadable at this address.
So once you have downloaded the Ubuntu ARM ISO, create your new virtual machine and, following step by step the procedure suggested by ESXi, install Ubuntu server, virtualized, on Raspberry Pi.
In this video, you will be shown, by an expert, the procedure for installing ESXi on Raspberry Pi, you will be guided through the creation of a new VM, with Ubuntu server for ARM, and the addition of new datastores.

Conclusions
The challenge for end users today is to determine whether the price / performance / power ratio and overheating would justify use on an ARM device compared to an x86 architecture processor.

We already know that ESXi works on ARM. With storage, networking and offload security, ARM for core applications may be a more compelling choice.
The use of ESXi is, however, an excellent compromise and offers an implementation very similar to traditional ESXi installations.
However, some ESXi implementations do not necessarily require the same degree of management and functionality. As a result, VMware can prove to be a good solution, keeping ESXi overhead within limits.