If you are reading this guide, I guess you have reached the point where you no longer need a guide explaining how to make money online, but you are looking for a safe and effective way to earn money online for free. Surely you have already tried to do this, but without success. Don’t be sad, because the moment you’ve been waiting for has arrived. Or start a new path that will lead you to earn money online with a free tool like TheMoneytizer. I don’t know if you’ve ever heard of this tool, but I can assure you that unlike AdSense it has more advantages. It allows you to earn even just by viewing the ads that the portal will automatically insert within your content. So there is no need for anyone to click on the ads, TheMoneytizer will also pay you just based on views.
I was like you too, unsure how to earn money online for free without investing a dime. I’ve always been told to pay to be successful. This is true but it is not always obvious to succeed. You can get help from leading companies in the sector, but there is still the risk that nothing is guaranteed and taken for granted. You can use free traffic sources, but by themselves they won’t help you much, especially if you’re just starting out with your business. Earning money online is not an unattainable endeavor. Surely you’ve already tried it and the results weren’t satisfactory. It’s time to put aside everything that led you off track and start a new path that will lead you to guaranteed success.
Read also: How to make money with photography and ClickASnap
1. Want to find out the secret to earning money online?
First you need to invest some time to study and learn the best mechanism to use to monetize safely. Don’t forget that the most effective weapon to earn money online is to dedicate time to your business. Nothing can yield anything if neglected and your business is no different. TheMoneytizer is a great free tool that comes with a variety of ad formats that you can place in your articles. First of all, you need to understand which formats are more profitable and let TheMoneytizer choose the optimal ad unit format, the optimal placement format, and the optimal allocation method of the ads within your posts. It goes without saying that when dealing with the web, regardless of the interest in making money, traffic is essential. And the time you dedicate to your blog is the key to creating quality content, which will inevitably bring traffic, traffic and more traffic to your articles.
2. How TheMoneytizer works
Well, by now it will already be clear to you, TheMoneyTizer is an advertising platform that connects advertisers and bloggers from all over the world. The platform allows bloggers to monetize their website, generating income from each visit. TheMoneyTizer also helps advertisers increase the popularity of their brand through native ad serving.
As a blogger, you can generate money in two ways: by displaying ads or by posting sponsored articles that are fully tailored to your site. Integrating ads into your content isn’t easy. With TheMoneyTizer, however, the control is in your hands, you decide the number of ads you want to show on your site, their format and their position. This is important, as it will help you maintain optimal site navigation while optimizing monetization. To start earning money online with themoneytizer, it’s not complicated. You must create a free account, indicate your bank details to receive your earnings and, through the dashboard on the portal, choose just which and how many ads to place on your blog.
3. How to make money online with TheMoneytizer
Ok, now no more talk and let’s move on to the facts. Now I will explain how to activate monetization on your blog leaving the bulk of the work to TheMoneytizer. Then, go to the home page of the portal by clicking on this link and create your free account by filling out the form.
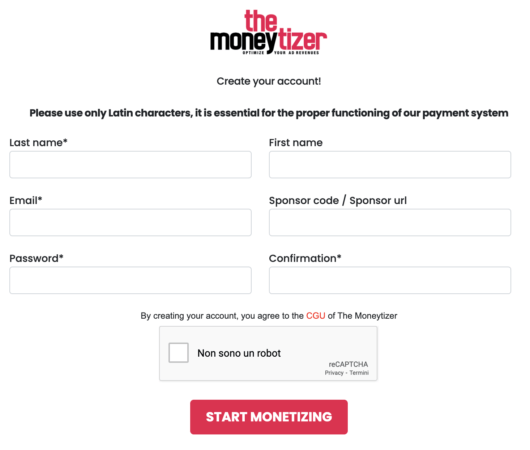
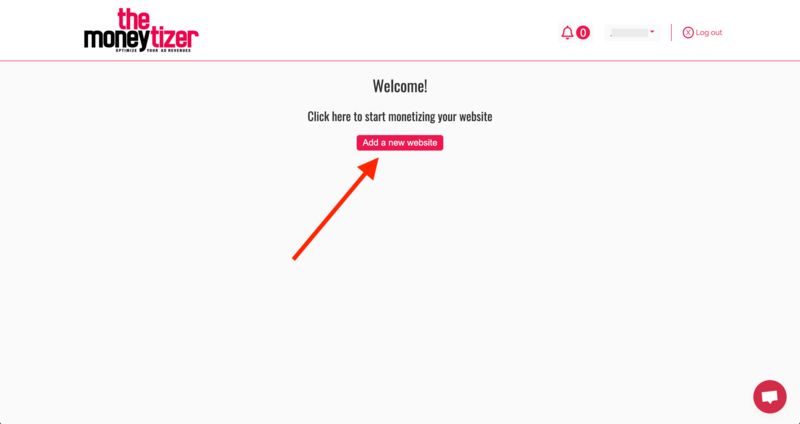
Once the data has been entered in the registration form, all you have to do is press the “Start Monetizing” button. Take note of the email and password you specified at this stage, you will need them later to access the dashboard. TheMoneytizer will send you an email to the address you indicated during registration, where it will be explained to you that within 48 hours your blog, after undergoing a quality check, will be ready to monetize. In the meantime you can already download the “ads.txt” file which you will have to copy and paste into the root of your domain via an ftp client .
If you are also using Google AdSense know that it is not necessary to deactivate it, therefore you will already have an ads.txt file. At this point, all you have to do is append the information contained in the “ads.txt” file, downloaded from the email received, copy and paste them at the end of the “ads.txt” file you are already using. You will be able to monetize using both platforms.
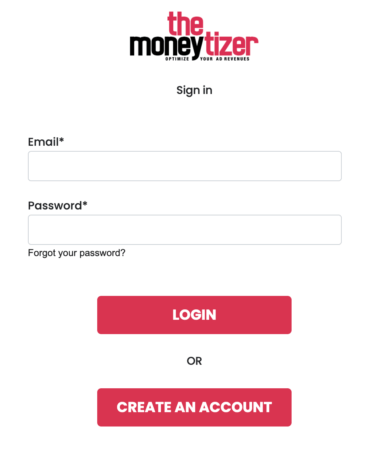
Now, in the next step you have to indicate the URL of your blog and the indicative number of visits it receives each month. To carry out this operation you must necessarily access TheMoneytizer by clicking on the “Sign in” button on the home page. Enter your email and password, entered during registration, and click on the “Login” button.
3.1 Add a new site in TheMoneytizer
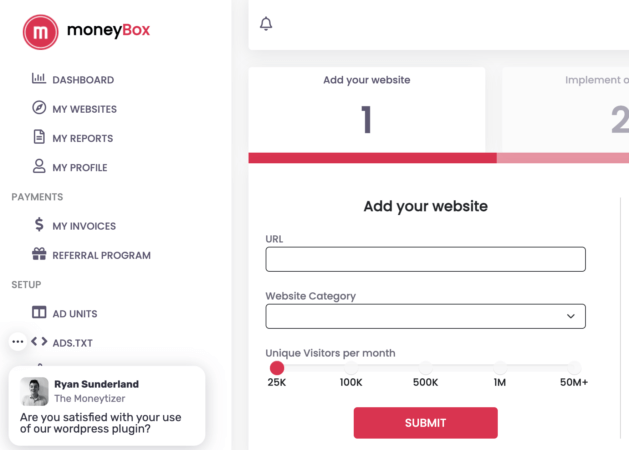
Well, at this point you will already be in the portal dashboard. But you still need to enter your blog URL, remember…! Then, click on the “Add new site” button, located at the bottom of the left frame. Once you have entered the URL of your blog and indicated the number of estimated visits you can click on the “Submit” button. The phase of adding a site in TheMoneytizer consists of four steps. You still have three left to complete.
3.2 Add the ads.txt file
Now, TheMoneytizer partners know who you are and on which site you want to start monetizing. But as I just told you, you still have three steps left to complete the registration phase of a site and start monetizing. Earlier I told you about the “ads.txt” file. This file must be copied to the main folder of your web space, practically where all the files on your site reside. After completing the previous step, the portal will offer you to add their ads.txt file. The integration of “ads.txt” is a mandatory operation.
The presence of this file will give authority and trust to the ads you publish. I advise you to update your ads.txt file, when TheMoneytizer prompts you to, to avoid losing profits. Therefore, make sure that the ads.txt file, for each registered site, is always updated to the latest version available. You have two options to update and add the “ads.txt” file. You can integrate the file automatically, or, integrate it manually.
3.2.1 Automatic integration of the ads.txt file
In the first case, just click on the “automatic integration” button and let TheMoneytizer copy and insert the file in the main root of your website. I have a clarification to make. If you already have an ads.txt file present in the root of your site, I strongly advise you not to proceed with this type of integration. If this file is already there it means you already have ad networks you are monetizing with. It is preferable to keep the information present in the ads.txt file unchanged and manually add those required by TheMoneytizer with manual integration.
3.2.2 Manual integration of the ads.txt file
In the second case, that is, to manually integrate the “ads.txt” file, you must click on the “manual integration” button. Now, copy the lines of code displayed in the box highlighted in green and paste them after the content already present in your “ads.txt” file.
The second step is finished, now you will proceed with phase 3, that is, the integration of the consent banner for the protection of personal data. This operation is also mandatory as required by law.
3.2.3 Integration of the Privacy Consent Banner
In the vast majority of cases, a banner for consent to the processing of personal data should already be included within each website before its publication. Being a procedure provided for by law, and therefore subject to changes, my advice, in this regard, is to integrate the consent banner offered by TheMoneytizer as all the changes made by law to the information relating to the processing of personal data will automatically already present within the banner integrated by TheMoneytizer. <head> tag present on each web page of your blog or website.
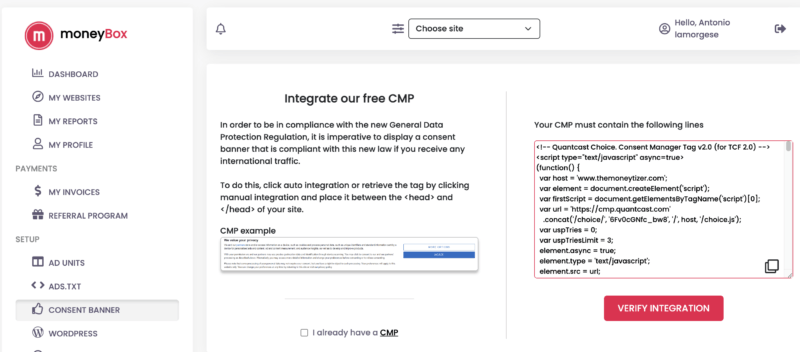
If you manage your blog with WordPress this operation will be easier than expected. All you need to do is install the free plugin “Insert Headers & Footers” and paste the lines relating to the consent banner in the box relating to the header section of the site. WordPress will do the rest.
3.2.4 Complete your profile
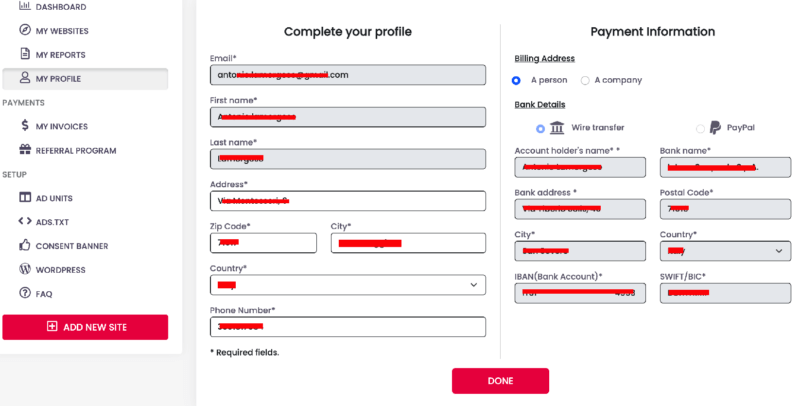
This is the last and fourth stage of integrating your website into TheMoneytizer. In this phase you must complete the information regarding your profile by entering the data necessary for TheMoneytizer to carry out payments. Then, you will specify whether to receive payments by bank transfer, paypal and so on.
Once the phase of entering this information is complete, by pressing the button bearing the “done” heading, you will feed your website to TheMoneytizer. From now on, the portal will process all your earnings and by entering the dashboard you will be able to understand in detail the performance of the ads published by TheMoneytizer on your website.
4. Integrating ads into your website
Now your website is perfectly integrated in TheMoneytizer. Even if the monetization is already started and ready if you don’t insert some format within your content I doubt that you can monetize anything. So now you will proceed to choose the advertising formats provided and integrate them within your articles.
This operation is also simpler than you might imagine. I also found it quite funny. Either way, let’s start by understanding where advertising formats are and what you need to do to integrate them. By clicking on the “AD Units” link, present in the left frame of the menu, TheMoneytizer will display all the formats available and the html code to copy and paste as suggested in the note below the format.
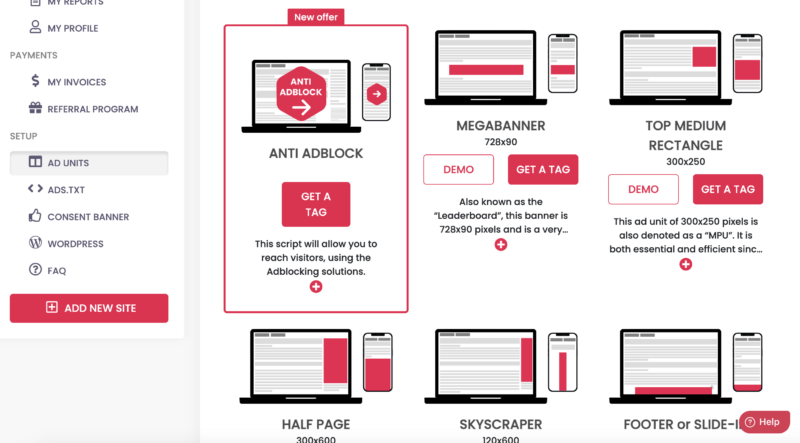
Well, surely you have already understood how easy it is to monetize a website with TheMoneytizer. Now, thanks also to the demo provided only for some types of formats, you will be able to see a preview of the ad before integrating it. Earlier I also told you about WordPress and it is useless to repeat it, but managing a blog with this extraordinary CMS is strongly recommended. In fact, in the next paragraph I’ll tell you about TheMoneytizer’s WordPress plugin and how easy it is to automatically integrate ads into your articles, leaving TheMoneytizer with the arduous task of choosing how and when to integrate an advertising format without penalizing navigation on your website.
5. TheMoneytizer: the WordPress plugin
If you use WordPress you know how easy it is to install a plugin. As for the plugin in question, before installing it, again from the dashboard, you must click on the “WordPress” item and copy the ID, relating to your account, and paste it when the wordpress plugin will ask you to complete the installation of the plugin same in wordpress.
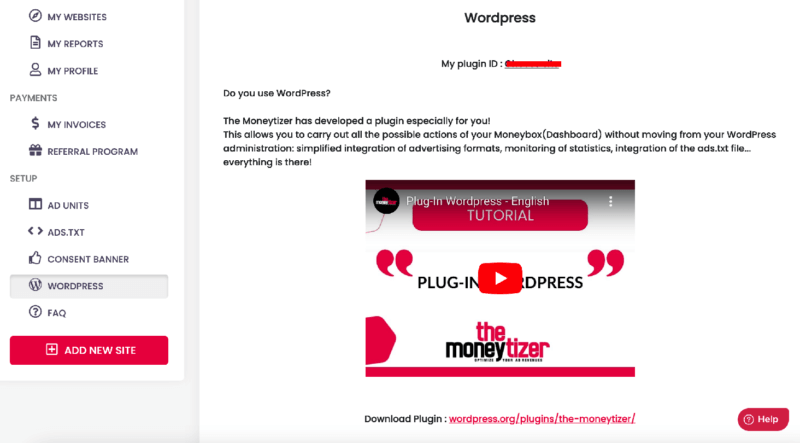
“Automatic activation” item, corresponding to the format that requires it, and the ad will be automatically integrated into your articles without being required no other specific action on your part.
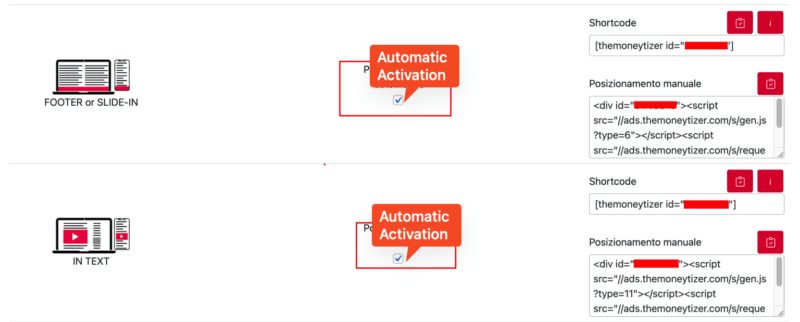
Furthermore, all formats that do not include automatic positioning in articles can be integrated by copying and pasting the shortcode, relating to each format, in the position you prefer.

6. Verification of earnings obtained with TheMoneytizer
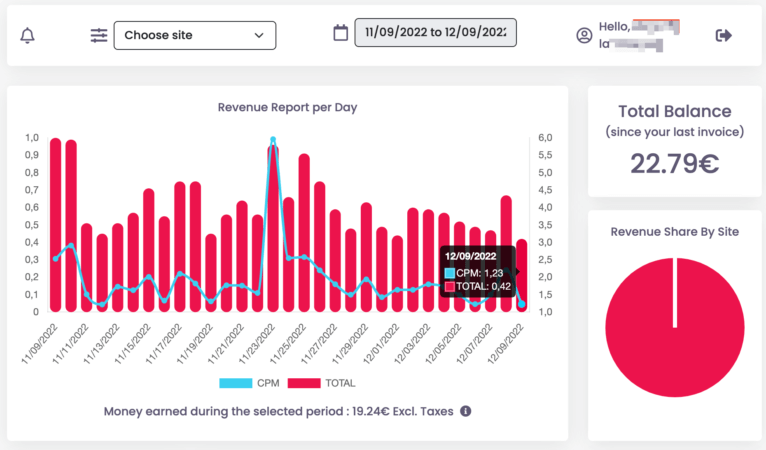
Both from the WordPress plugin and from the portal dashboard you can check the progress of the earnings obtained site by site or for all registered sites. Not only that, the earnings will be broken down by format and consequently you will be able to understand which format is more profitable for your type of blog.
Read also: How to make money with 10 android apps
