
How to uninstall apps on MAC
Have you recently bought an Apple computer and don't know how to uninstall apps on Mac? In this guide you will find out how to do it.
di Antonio Lamorgese
Uninstall apps on MAC is one of the most performed operations by users but also the most critical one. In fact, it is not uncommon to find, after an app uninstall operation on the MAC, files that still take up disk space and related to software that has been removed. Many users are convinced that, to uninstall apps on MAC, just drag its icon to the trash. Although this operation would seem to work well, in reality it leaves many doubts. In fact, following a software uninstallation in this procedure, many files associated with the deleted program are still present on the hard disk taking up space and slowing down the performance of the computer.
On the MAC, just like Windows, when you need to remove software it is advisable to do it using ad-hoc programs, such as AppCleaner , which will remove any type of file related to the deleted program without leaving any trace on the computer. Now you will see how AppCleaner worksand how to permanently remove an app on MAC.
Read more: How to speed up a MacBook with CleanMyMac
Table of contents...
1. Download AppCleaner
In order to use AppClener you need to download and install it on your MAC computer. The first Step is to reach the “FreeMacSoft” home page, the portal that hosts the AppCleaner installation package, by clicking on this link .
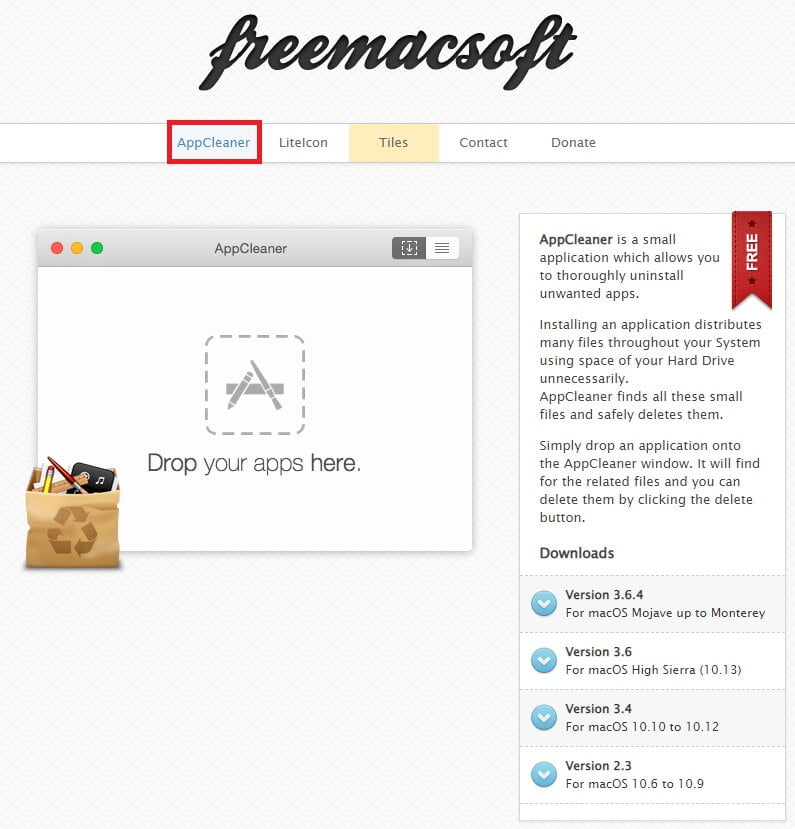
As you can see, on “FreeMacSoft”, in addition to AppCleaner, there are also two other apps that are very useful for a MAC user. These two apps are “Liteicon” and “Tiles”. Two very useful apps that I still recommend you evaluate. Now, let’s go back to AppCleaner and see how to download the software and install it on MAC. In fact, by clicking on this link , you can download the “appcleaner_3.6.4.zip” file linked to version 3.6.4, as shown in the figure.
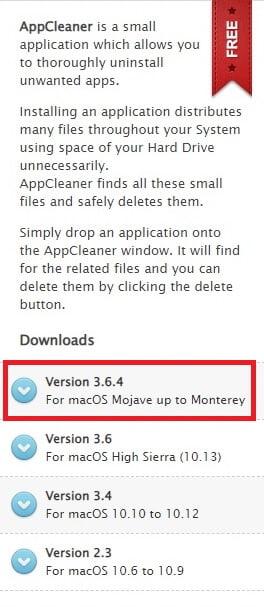
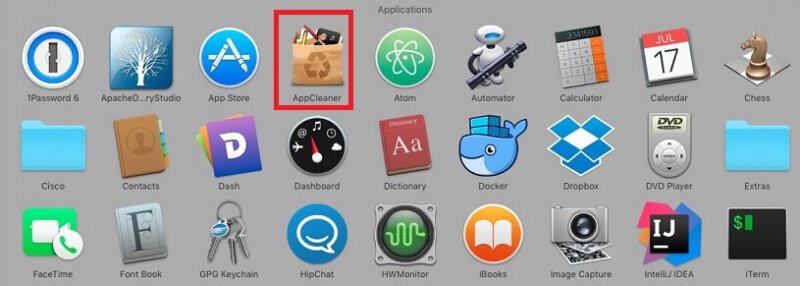
After downloading the “appcleaner_3.6.4.zip” file, the most recent version to date, all you have to do is unzip the file and move the AppCleaner installation file, “appcleaner.app” present inside the compressed folder, in the folder “Applications” of the MAC. From now on you will find AppCleaner, in the area dedicated to MAC apps, and available for the complete uninstallation of applications.
2. How to uninstall apps on MAC with AppCleaner
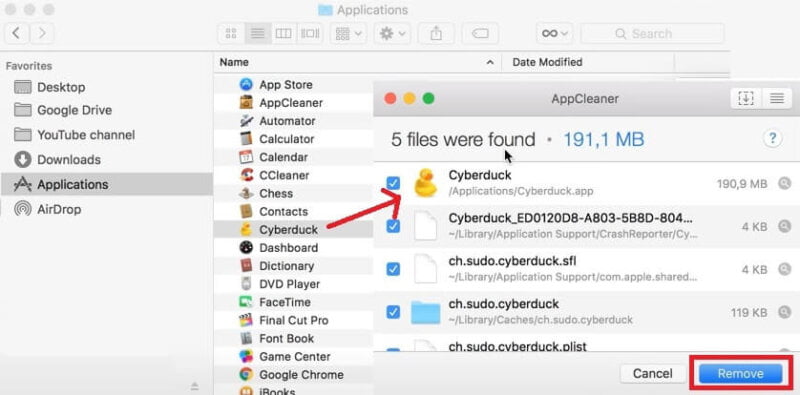
Now that you have AppCleaner available on your MAC computer, you can use it to remove apps without leaving a trace on your hard drive of files related to the program to be removed. The operation is very simple, in fact, to remove a program from your MAC all you have to do is drag its icon into the AppCleaner window. As the message in the area dedicated to the release of programs to be eliminated by AppCleaner suggests.
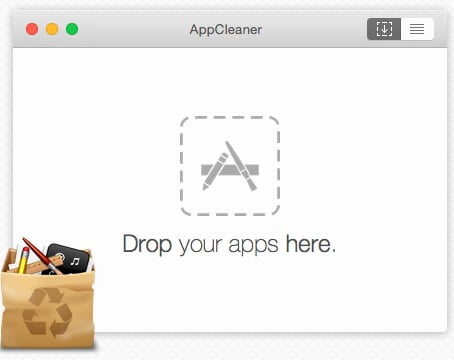
After dragging the program to be removed into this area, Appcleaner will search and load all the files associated with the software to be removed. Now, all you have to do is click on the “Remove” button and the program will be completely removed from your MAC without leaving the slightest trace of its previous installation.
3. Conclusions
The complete and total removal of apps from a MAC computer will allow you to always keep your hard disk clean of junk files, that is, all those files that are now unused by the operating system and which could weigh down and slow down your computer. In this video tutorial you can see AppCleaner in action and see practically how easy it is to uninstall apps on MAC with this amazing free tool.
Read more: How to create a software installation package