
The Best Photo Editor for Photo Editing online
If you are a lover of photography and, especially if you are a beginner and have recently landed in the wonderful world of photography, you will certainly have understood how important and fundamental it is to acquire the techniques and tools necessary for photo editing. Until recently, photographers were forced to purchase expensive software in order to retouch and improve the appearance of each of their photos. Fortunately, today, thanks to photo editing online, it is possible to give your every shot the necessary improvements to make all your photos professional and captivating.
Thanks to a completely free site, accessible from both computers and smartphones, you will be able to understand the importance of online photo editing and, how simple it is, to improve the appearance of all your photos with just a few steps.
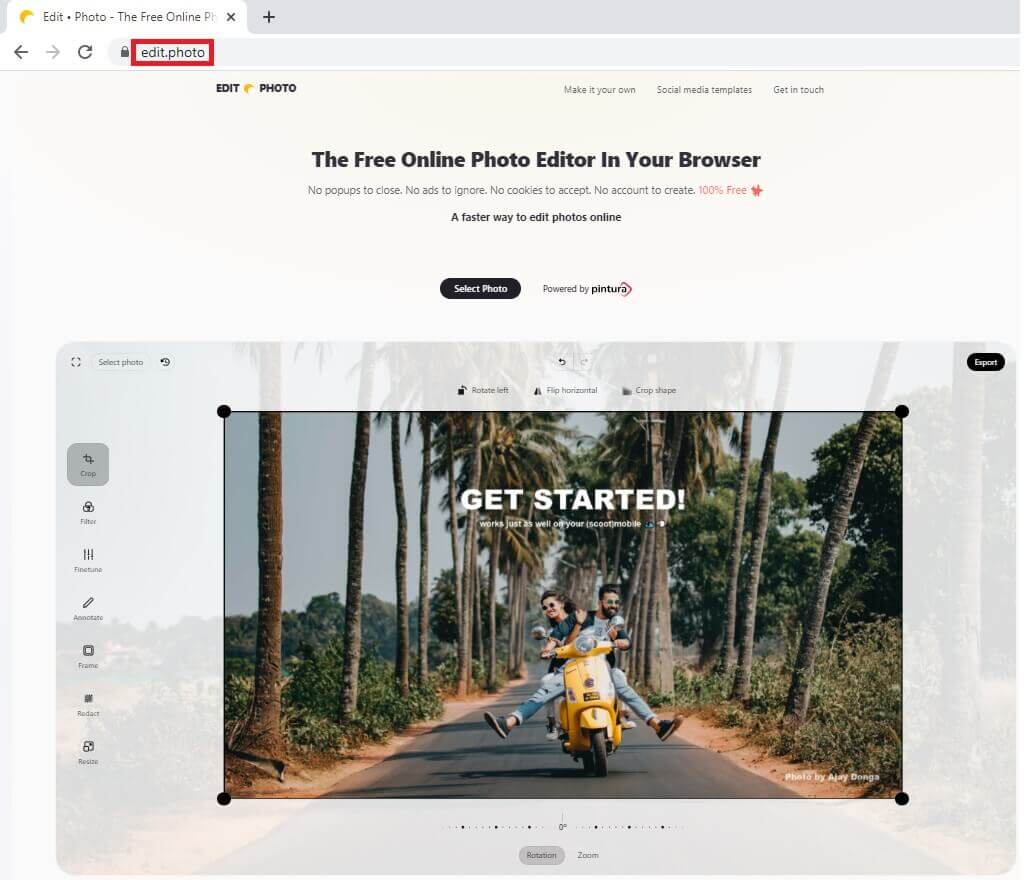
So, make yourself comfortable, open your favorite browser and access the Edit.photo home page, the online photo editor, simple and free, usable only with the help of a web browser and without any advertising popup.
Read more: Photo editing free basics
Table of contents...
1. How to access Edit.photo
To access Edit.photo and start making the first necessary changes to your photos, just click on this link. When the browser displays this web page, it means that the online photo editor “Edit.photo” is ready, and all its features are available.
2. Upload the photo to be processed in Edit.photo
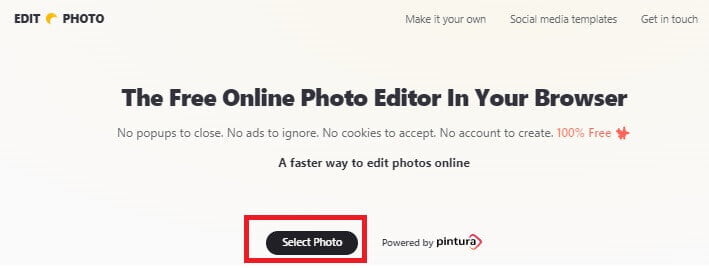
As a first step, you need to upload the photo on which you intend to make improvements to Edit.photo. Therefore, just click on the “Select Photo” button on the home page of the online photo editor.
3. All the photo editing features of edit.photo
Once the photo to be retouched has been uploaded, you can access the functions offered by “Edit.photo” by clicking on the respective icons displayed on the left. All the features necessary for photo editing and that edit.photo makes available to the user are 7. Let’s see each single function in detail.
3.1. The CROP tool
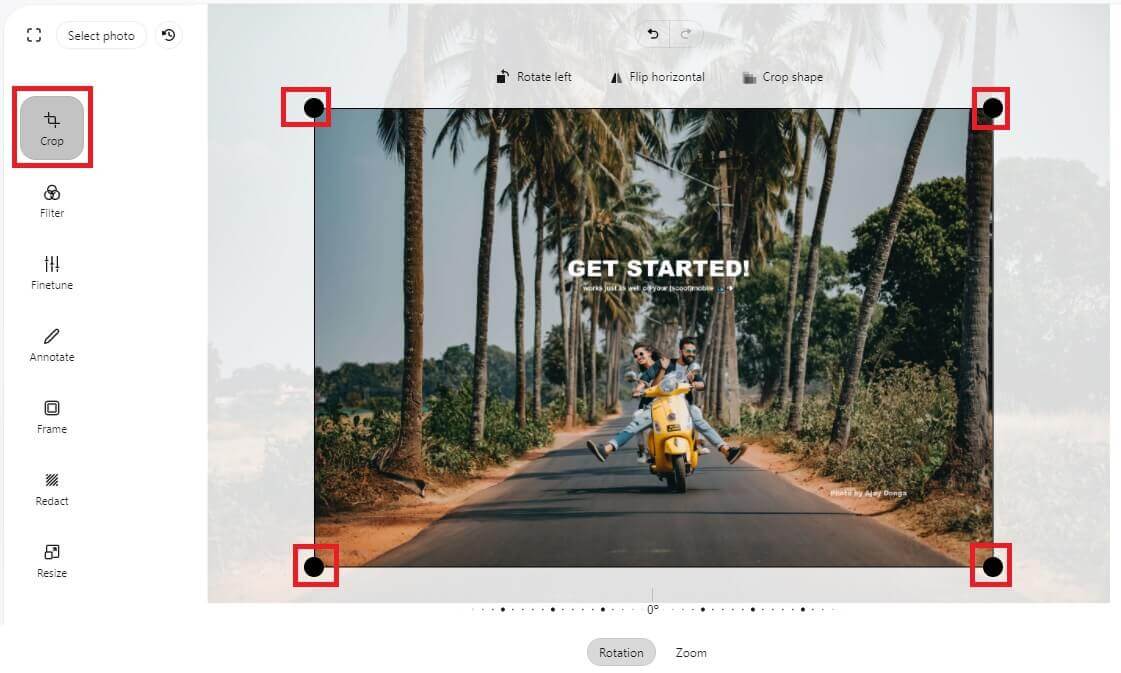
If you have already had the opportunity to use other photo editing software, you know that the term “crop” refers to the operation of cropping a portion of an image. Consequently, even in edit.photo, crop, crop and select only a part of the photo, dragging with the mouse, the 4 points positioned at the corner of the image itself. With this feature, a professional photographer usually excludes from the photo anything that creates disturbance and has no bearing on the subject or the environment.
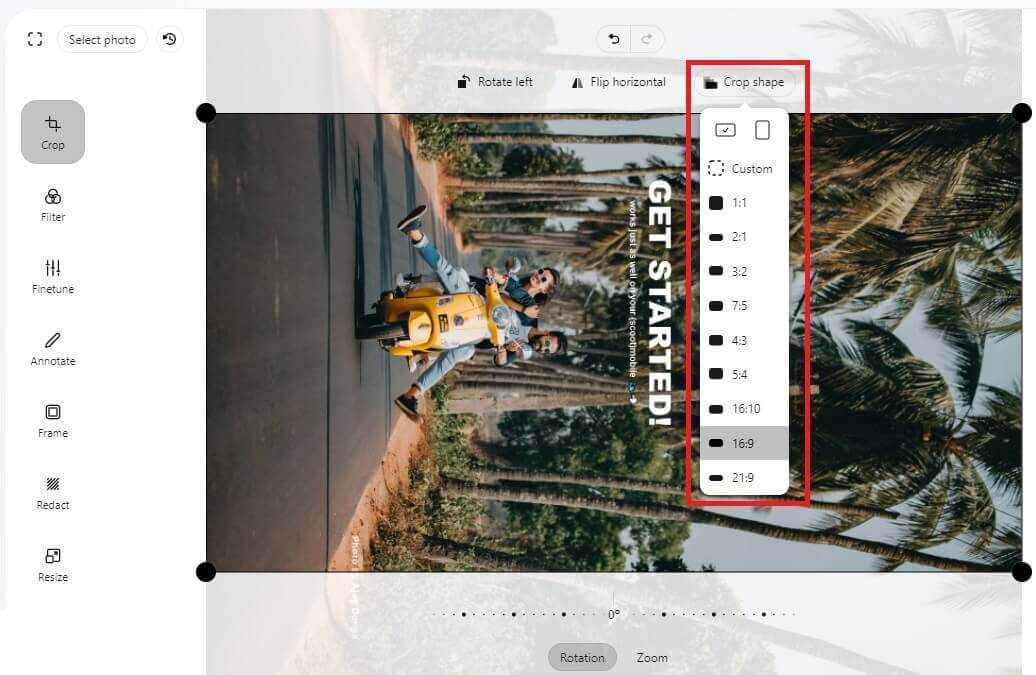
In addition to cropping, within the window displayed by the CROP tool, you can see 3 other sub-features: “rotate left“, “flip horizontal” and “crop shape“.
With “rotate left”, it is not difficult to understand that this feature will rotate the photo 90 ° to the left every time you click on the associated button. But the feature that caught my attention the most is “flip horizontal”. Flip horizontal will allow you to mirror the content of the photo making it mirror the original. For example, if you are a selphie lover and you don’t like your left profile, know that with flip horizontal you can flip the photo highlighting your right profile. Crop shape, on the other hand, automatically crops the image in one of the formats listed and which you can also see in the figure. So, go wild and choose the auto-crop format that best suits your needs.
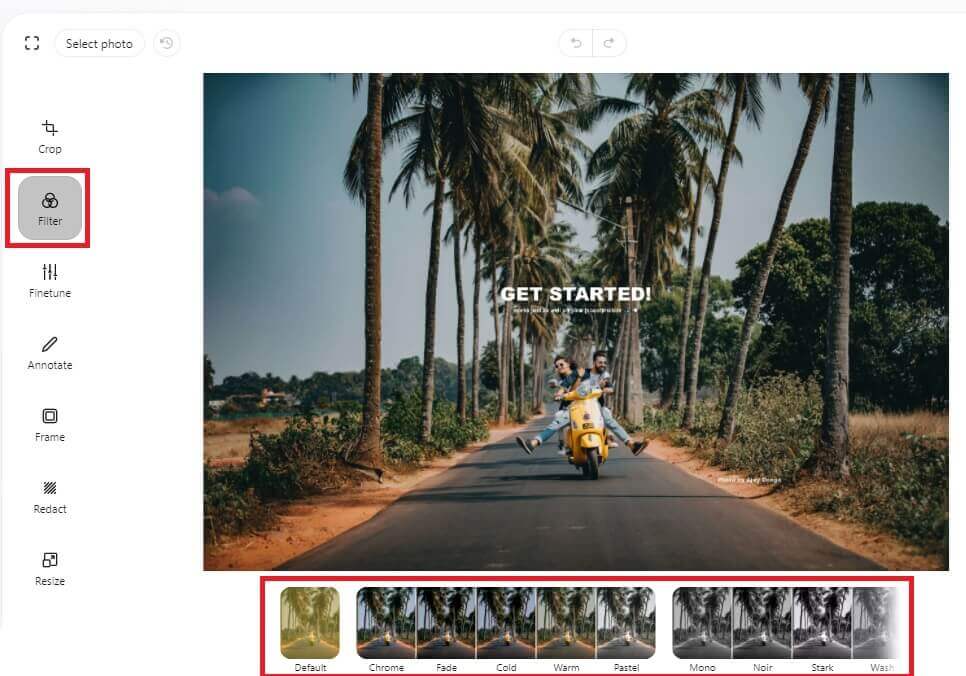
3.2. The FILTER tool
The “Filter” section of edit.photo allows you to apply special effects to your photos. The effects are available in the area below the figure. Here you will find all the effects that are usually applied during a photo editing operation. The choice is yours.
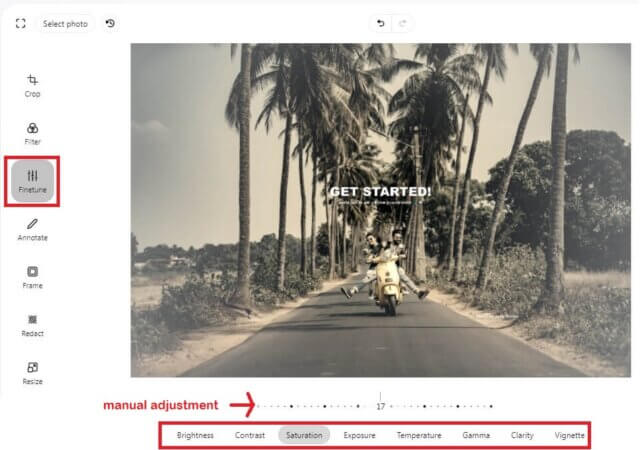
3.3. The FINETUNE tool
With the “Finetune” tool, you can manually adjust all those values that specifically characterize the quality of a photo. Let’s talk about: “Brightness“, “Contrast“, “Saturation“, “Exposure“, “Temperature“, “Gamma“, “Sharpness” and “Vignette“. All these settings, certainly already known to you, can be adjusted manually by acting, with the mouse, on the associated cursor and also visible in the figure. You can improve brightness, contrast, sharpness and much more by selecting the function and dragging the cursor with the mouse to the desired value. Even with “Clarity” you can adjust the sharpness giving more clarity to the details.
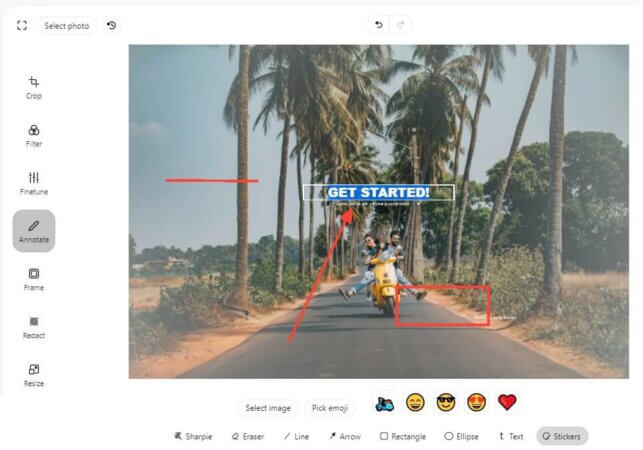
3.4. The ANNOTATE tool
By going to the “Annotate” section, you can add the stickers, already included on the site, any type of shape and image to be superimposed on the main one. Furthermore, you can insert text specifying each of its characteristics.
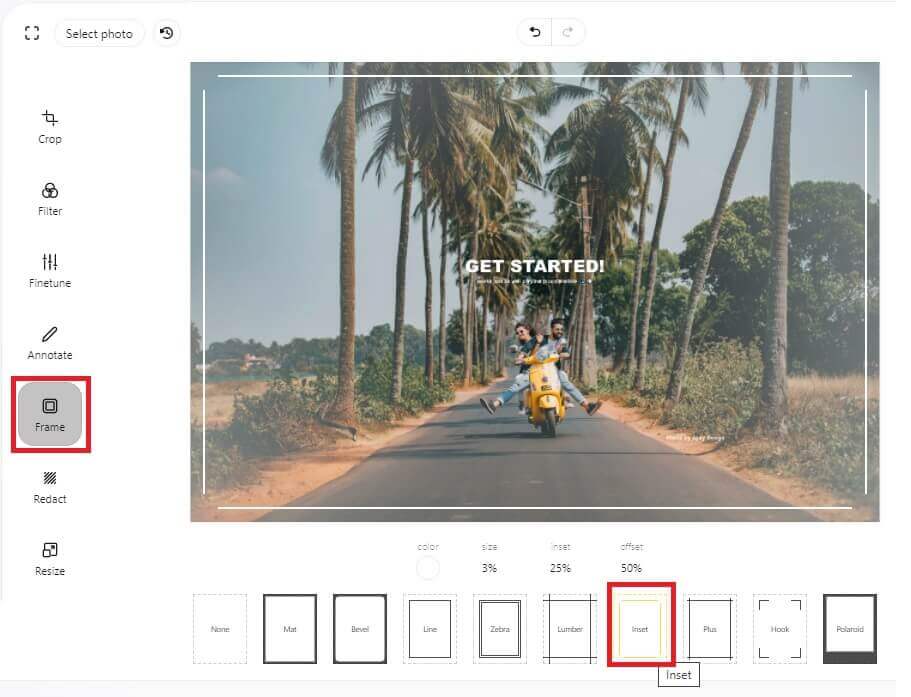
3.5. The FRAME tool
If you want to apply frames to your photos, the “Frame” tool is what you need. You will have no difficulty in understanding how it works, in fact, just select the frame you want and, automatically, it will be applied to the photo.
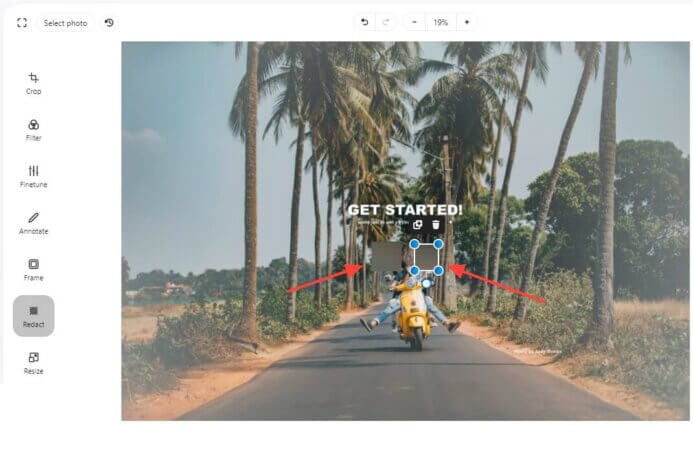
3.6. The REDACT tool
An effect that is not always present in other photo editing tools is “Redact”. With this tool you can censor, highlighting first with the mouse, those parts of the photo that you don’t want to make visible. Logically, the hidden part with Redact can be resized later, simply by selecting it and dragging its edges with the mouse.
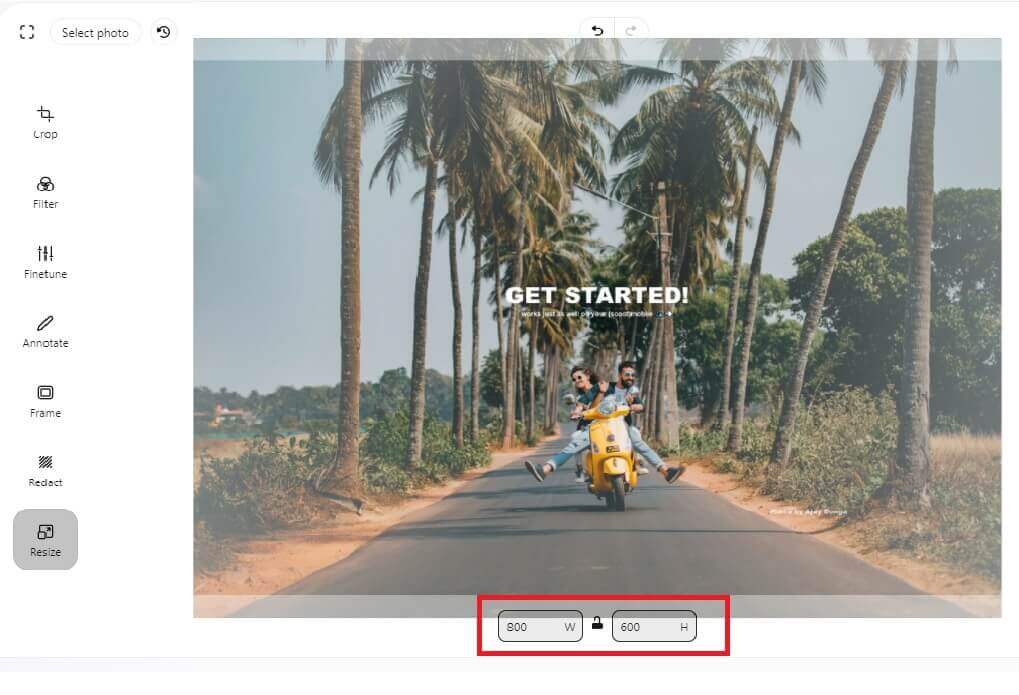
3.7. The RESIZE tool
The Resize tool does not need comments. With Resize you can resize your photo as you like, specifying the values for its width and height in the “W” and “H” boxes.
Read more: Turn Any Text into Video With Just A Few Clicks
4. How to export the retouched photo with edit.photo
Once all the photo editing work has been completed, you can export your photo in the format and quality you prefer. In fact, on every screen and wherever you are in edit.photo, the “Export” button is always visible. By clicking on “Export” you can export and save your photo editing work in the format you have indicated.
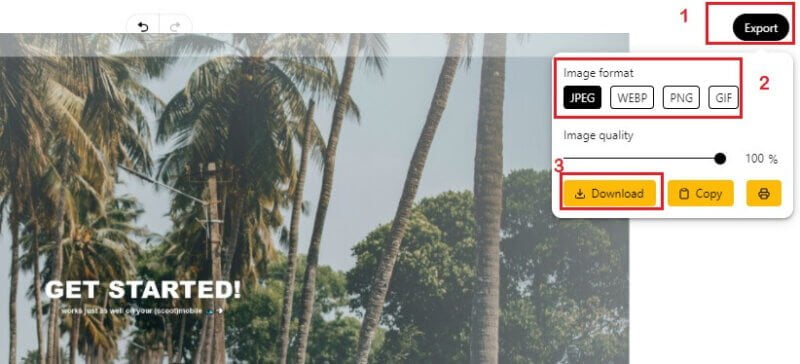
It is useless to specify that, when you go to act on the “image quality” slider you will get a higher quality photo at the expense of the size in bytes of the file you will export. Therefore, always keep in mind that, if the image or photo you have retouched you have to insert in a post or on social media, the value set using the “image quality” slider is preferable to keep it around 80%. In this way you will always get a photo of excellent quality but, with a size, more suitable for the web.
I hope I was able to explain to you this very useful online photo editor absolutely necessary for those involved in photography but not to be overlooked also by those who carry out image retouching operations for any need. Edit.photo still represents an indispensable tool for work and hobbies both in the field of photo editing and in the field of manipulating image files in any format.
5. Other interesting resources
Now that you know how to improve the result of each of your shots and retouch images as only a professional would, as always, I suggest you take a look at this link where you can find other articles that may interest you.