
How to make an Android app without coding
Among the many tens of thousands of apps that populate the digital marketplace of the most famous brands of the web, there are an infinite number of apps that provide solutions to real-life problems. But perhaps you’ve never asked yourself: “Is it possible to develop mobile applications despite having little basic knowledge?” In short, the point is: “How to make an Android app?”.
Well the question is more than legitimate since we use these apps on our smartphones and tablets for the most diverse reasons. In this regard, you might think that only a professional developer is able to make an Android app.
But in reality, numerous platforms allow anyone, even children, to develop their own apps! For example, children would be very interested in knowing how to develop apps to create free video games.
However, today there is more than one system that can create an app easily and with minimal programming knowledge.
Among these is MIT App Inventor. MIT App Inventor allows you to develop mobile applications with only basic programming skills. In this article, I will try to dispel any doubts about MIT App Inventor by providing you with the steps necessary to create your first trial app.
Table of contents...
1. What is MIT App Inventor?
MIT App Inventor is a web application that helps you create apps for Android phones with just the help of a web browser.
Developed by Google back in 2011, today MIT App Inventor is owned by the Massachusetts Institute of Technology, hence the acronym MIT.
MIT App Inventor is a software platform capable of developing and designing apps for Android phones, simply by dragging and releasing blocks, similar to the pieces of a puzzle, which can be inserted into each other and without writing a single line of code.
The system is available for free by accessing the portal with a normal Google account, the one we usually use to access Gmail, and without installing software on the computer.
2. The MIT App Inventor Android emulator
Once you have finished dragging these blocks on the virtual smartphone screen, displayed in MIT App Inventor during the app development phase, you can test your apps by connecting your smartphone to the system or through an Android emulator.
The Android app server that also hosts MIT App Inventor can save all your work on the online platform, helping you keep track of all your projects.
MIT App Inventor uses a visual and intuitive programming environment and aims to allow everyone, even children, to create a fully functional app for their smartphones and tablets. Those unfamiliar with MIT App Inventor can start designing apps by following these few simple steps.
3. How to make an Android App?
MIT App Inventor, as mentioned above, runs in a browser, so you can use it on any platform and operating system, including: Windows, Mac, Linux or even on Raspberry Pi.
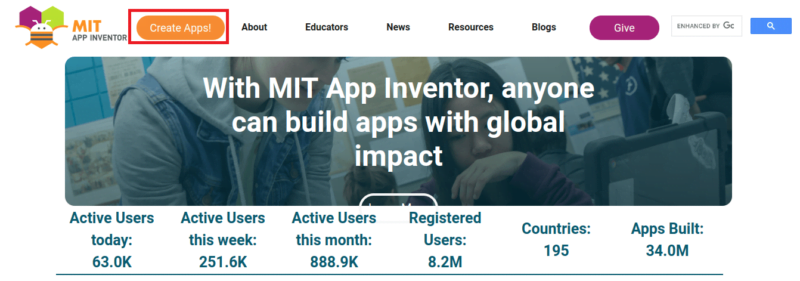
We will try to create a first app that will aim to print the classic greeting string “Hello World …!”. So, assuming you have a Google account available, log into the App Inventor website and click “Create Apps”.
Once you have passed all the screens, click on “Start New Project” and then give it a name. We will call it “HelloWorld”. Click on the “Ok” button and, within a few seconds, your project will be ready to host everything you need to create our app.

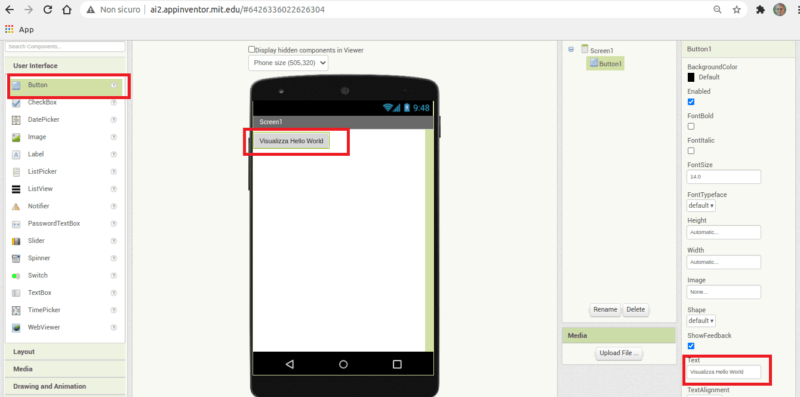
Automatically MIT App Inventor will open a window that will represent the App Design View. What you will see is shown in the figure, the first thing to do now is to drag a button on the smartphone screen

Rename it to “View Hello World” by selecting it on your smartphone, clicking on it, now in the component properties window locate the “Text” property and replace the words “Text for Button1”, default for this component, with “View Hello World” and hit enter.
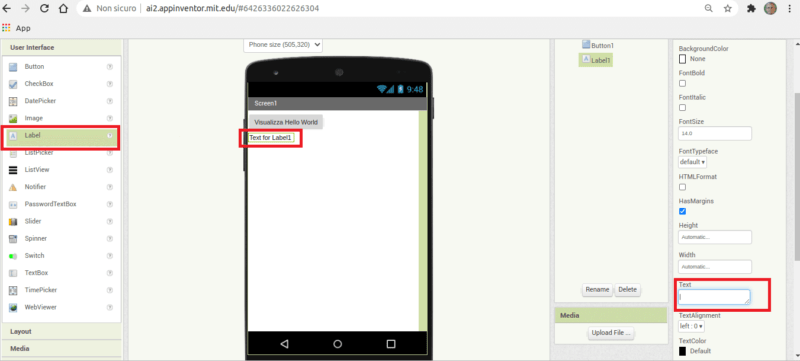
Now, drag a Label component, ie a label, and rename it to “HelloLabel”, exactly like you did with the button. That is, select the Label, clicking on it, go to the component properties box and delete the content of the “Text” property, leaving the field completely empty.
After placing all the components on the smartphone screen, you need to switch to Block View. To do this, just click on the “Blocks” button located at the top right.
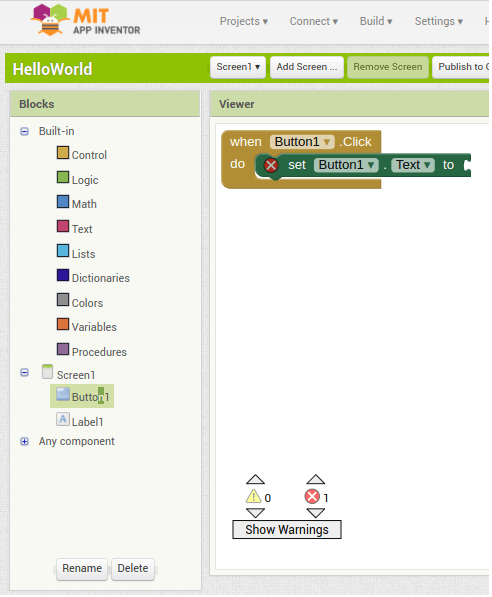
Click on the button “Button1”, this is the name of the component, and you will see all the events available for the button itself. Select the When block and drag it to the right in the Blocks viewer pane.
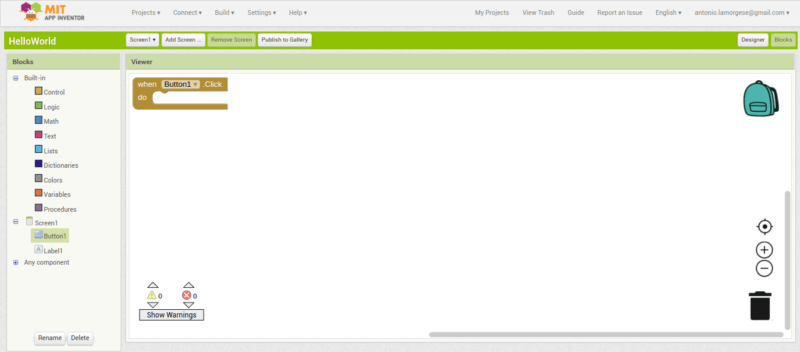
Now click again on Button1, in the left pane, and locate the green block called “Set Button1 Text to”
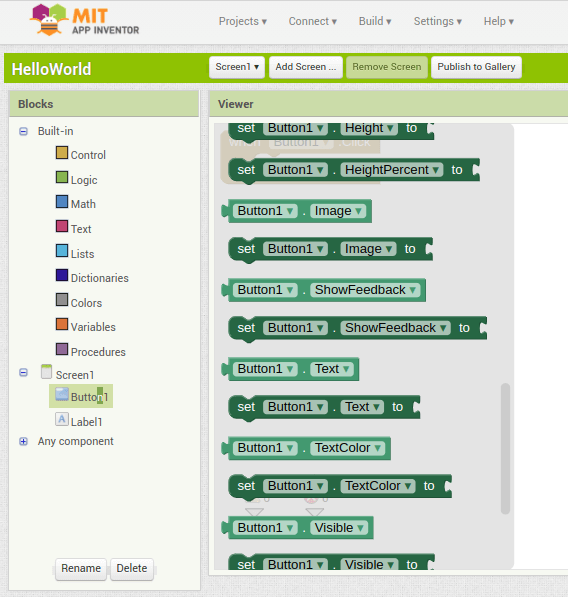
Now hold down the left mouse button on this block and drag it inside the when block.
In the same way, click on the “text” item, accompanied by the icon depicting a red box “located in the left box above the button1 and label1 components, select the first red block and drag it to fit it immediately after the green block. Inside the white box of this block, type the words “Hello World …!” as in the picture:
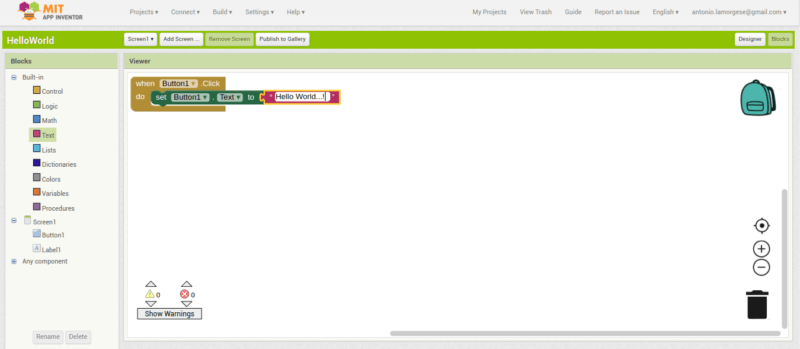
This is all our Hello World app needs, now we just have to try it on our Android device.
READ MORE: How to transfer files from PC to smartphone with AirDroid.
4. Test and run the app with AI2 Companion
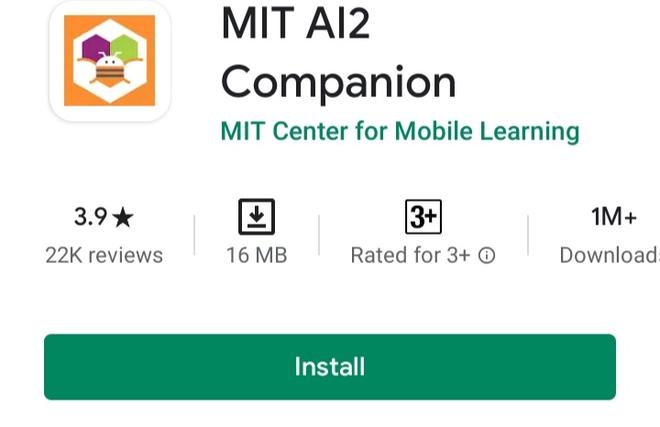
The app can be tested and run in various ways, one of the many is to test our app on our Android device. So, search for MIT AI2 Companion in the Google Play Store, install and launch this app on your smartphone.
Back to MIT App Inventor click on the “Connect” menu and select the “AI Companion” item.
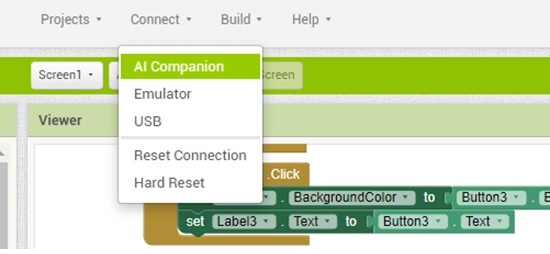
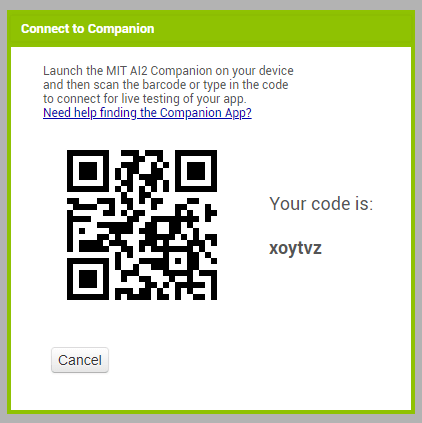
A box will appear depicting a QR Code, which you can type on your device or scan directly with your smartphone and through the MIT AI Companion app.
On your smartphone you should see a window like this:
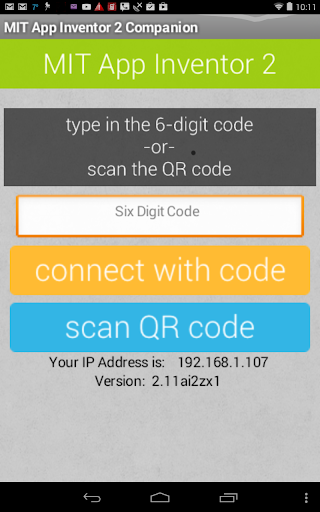
Once this is done, you should see the app appear on your smartphone as you designed it in the MIT App Inventor designer. At this point click on the button and you will see the Hello World string…! Displayed where you placed the Label.
Logically this is just an example of what you can do with MIT App Inventor, in this video tutorial you will be able to appreciate more advanced features of the development environment.